Virtual Entities Part 3 – Custom Data Provider
Introduction
This is the final blog post of the Virtual Entities series and this time I will show you how to create and set up a custom data provider for virtual entities.
Entity #1
The first step should be creating a virtual entity in Dynamics.
Creating a virtual entity for the custom connector is quite simple and I can say that is even easier than creating it for the OOB connectors. It's easy because you don't need to take care of external names, data types or field requirements because everything you do will be defined in the plugin code and not on the UI.
Let's create a simple entity for our demo. The entity will hold a simple sensor data that includes temperature and a timestamp for the measurement.
The first step is obviously opening solution explorer and creating a new entity. The only things you need to be aware of here are Virtual Entity checkbox that must be checked and data source part that will remain empty for now till we create one later.
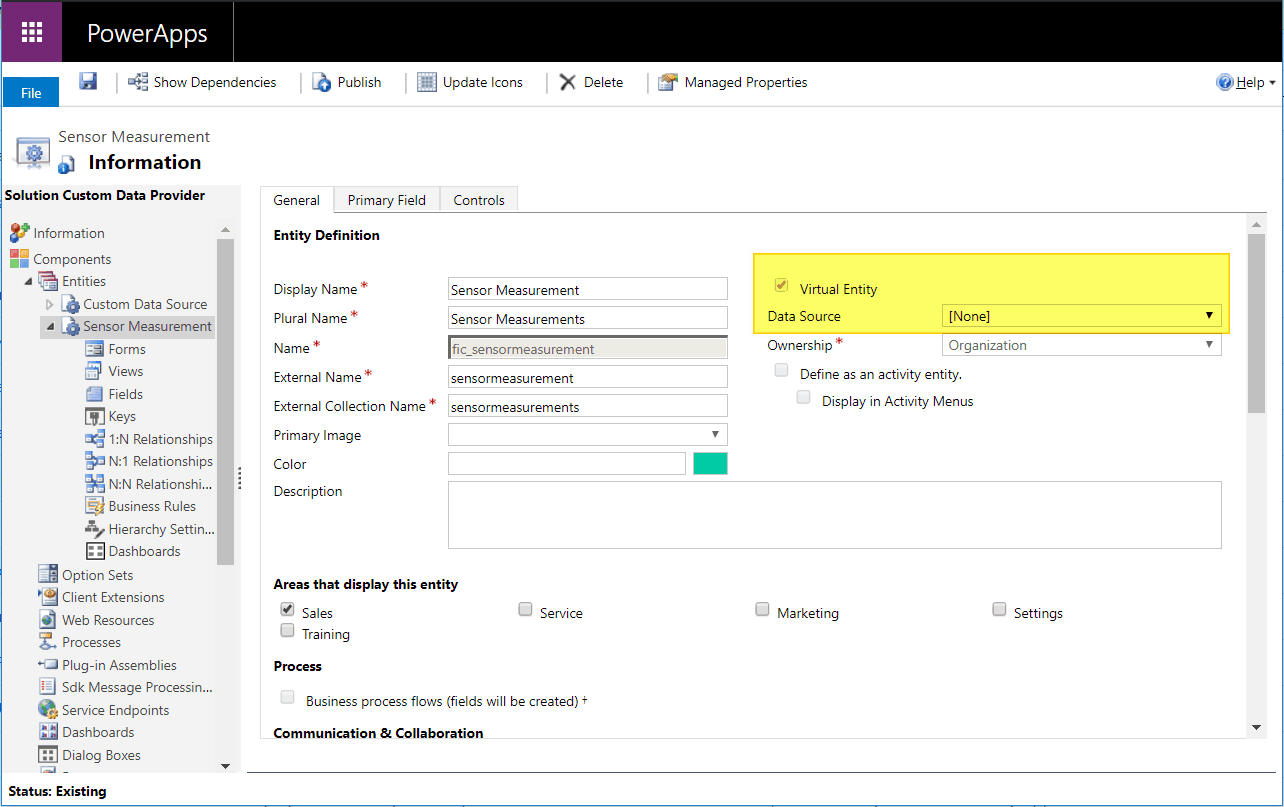
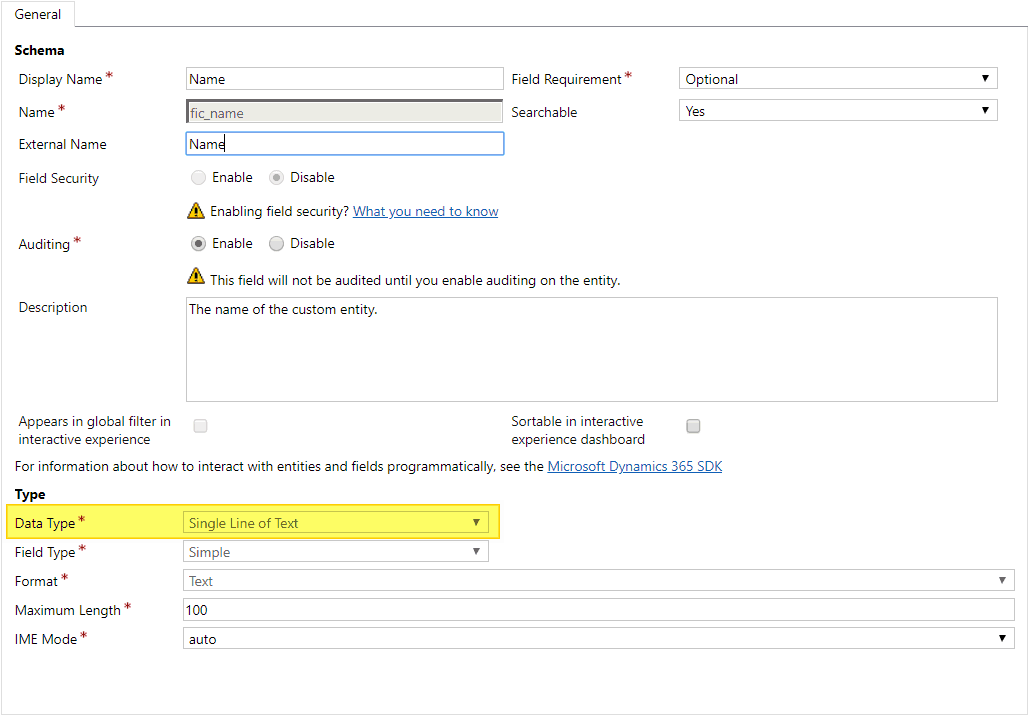
After that let's create 2 fields that will hold our sensor data.
The Name field should a single line of text (primary field will do the job).
The Temperature field should be a whole number.
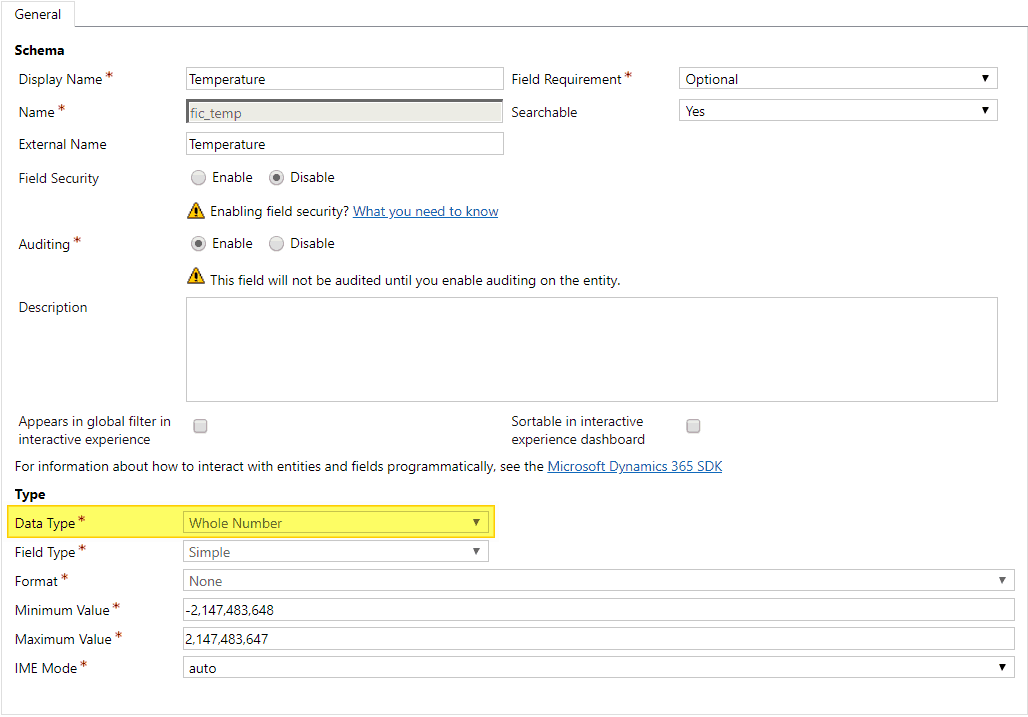
The data type is the only thing that you need to set up and leave everything else as default values. As you can see here we don't need to think about external names because regular field names will be used in our plugin code.
That's everything we need to set up in our entity, so we are ready to jump to the next step.
Plugin
Next step is writing a simple plugin that will handle the read operations for our data.
We need to implement some data source logic in our plugin so we can fetch data from 3rd party system. This example will use a static class with some predefined data that will be used to demonstrate how to write a plugin.
First of all, we need to define a class that will hold our data. Code that describes our class is shown in the snippet below.
public class SensorMeasurement {
    public Guid Id { get; set; }
    public string Name { get; set; }
    public int Temperature { get; set; }
}
Next, we need to write some service that will fetch data for us. Service in this example is a simple repository that has 2 basic methods Get and GetAll which fetch a single record and all records respectively. Code for that static class is shown below.
public static class SensorMeasurementRepository {
    private static List<SensorMeasurement> _list = new List<SensorMeasurement>();

    static SensorMeasurementRepository() {
        _list.Add(new SensorMeasurement { Id = new Guid("B5716C51-9EFA-4FCF-A6D8-51C5A185E095"), Name = "M-00001", Temperature = 25 });
        _list.Add(new SensorMeasurement { Id = new Guid("01AFA424-C781-4A39-853D-66C6C29F0919"), Name = "M-00002", Temperature = 32 });
        _list.Add(new SensorMeasurement { Id = new Guid("7DE943D0-0C31-4840-AD1A-80D2AF7EFE65"), Name = "M-00003", Temperature = 21 });
        _list.Add(new SensorMeasurement { Id = new Guid("BFCFC733-508F-4B74-A424-343AC1CB2BE1"), Name = "M-00004", Temperature = 24 });
        _list.Add(new SensorMeasurement { Id = new Guid("5EBA2414-9A5D-4163-82AF-A2E07896715E"), Name = "M-00005", Temperature = 19 });
        _list.Add(new SensorMeasurement { Id = new Guid("58A2A025-A648-4CFB-BE15-DF89B72850BE"), Name = "M-00006", Temperature = 29 });
        _list.Add(new SensorMeasurement { Id = new Guid("BD7F2C36-1523-4E46-A1E4-BF206588DAD5"), Name = "M-00007", Temperature = 23 });
        _list.Add(new SensorMeasurement { Id = new Guid("12A22D27-4F43-4FAA-99F7-110546727A62"), Name = "M-00008", Temperature = 27 });
        _list.Add(new SensorMeasurement { Id = new Guid("84EEBD84-4089-43B3-AD6A-5D4571E08681"), Name = "M-00009", Temperature = 35 });
        _list.Add(new SensorMeasurement { Id = new Guid("33CEC506-E3B7-4348-B121-956F8BBB61F3"), Name = "M-00010", Temperature = 31 });
    }

    public static List<SensorMeasurement> GetAll() {
        return _list;
    }

    public static SensorMeasurement Get(Guid id) {
        return _list.FirstOrDefault(x => x.Id == id);
    }
}
The class is prepopulated with a list of 10 records that will be shown in Dynamics at the end.
Finally, we got to the part where we need to write a plugin. Writing a custom data provider plugin is not that different than writing one for Retrieve/RetrieveMultiple messages. All you need to do here is to set the right output parameter at the end of plugin code.
Retrieve code that will be used in this example is shown below.
public class CustomConnectorRetrieve : IPlugin {
    public void Execute(IServiceProvider serviceProvider) {
        var context = (IPluginExecutionContext)serviceProvider.GetService(typeof(IPluginExecutionContext));

        // Fetch data from another source
        var item = SensorMeasurementRepository.Get(context.PrimaryEntityId);

        // Map 3rd party data to entity model
        Entity entity = new Entity(context.PrimaryEntityName);
        entity["fic_name"] = item.Name;
        entity["fic_temp"] = item.Temperature;

        // Set output parameter
        context.OutputParameters["BusinessEntity"] = entity;
    }
}
The Retrieve plugin must implement IPlugin interface as any other plugin for Dynamics. Whole logic is defined in the Execute method that is part of the implemented interface. We must fetch single record here and construct the Entity object, populate it with retrieved data and pass it as BusinessEntity output parameter in the end. With that, we are done with our Retrieve method so we can move forward to RetrieveMultiple.
RetrieveMultiple code that will be used in this example is shown below.
public class CustomConnectorRetrieveMultiple : IPlugin {
    public void Execute(IServiceProvider serviceProvider) {
        var context = (IPluginExecutionContext)serviceProvider.GetService(typeof(IPluginExecutionContext));

        // Fetch data from another source
        var list = SensorMeasurementRepository.GetAll();

        // Map 3rd party data to entity model
        EntityCollection ec = new EntityCollection();
        foreach(var item in list) {
            Entity entity = new Entity("fic_sensormeasurement");
            entity["fic_sensormeasurementid"] = item.Id;
            entity["fic_temp"] = item.Temperature;
            entity["fic_name"] = item.Name;
            ec.Entities.AddRange(entity);
        }

        // Set output parameter
        context.OutputParameters["BusinessEntityCollection"] = ec;
    }
}
The RetrieveMultiple plugin must also implement IPlugin interface. This time we must fetch a list of data, create an Entity collection, populate it with Entity objects with fetched data and pass the collection to the BusinessEntityCollection output parameter. Even few small changed that feel so unimportant can make this code not to work.
There are few ways of initializing the Entity object in C# notation, but only one of those work and that is one shown above.
For example, if you try to use initializations like:
-
Entity entity = new Entity("fic_sensormeasurement", item.Id); -
  Entity entity = new Entity("fic_sensormeasurement");
  entity.Id = item.Id;
It just won't work and I don't understand why is that like it, but you must be careful when initializing the entity object to strictly add GUID to the dictionary.
Now when we have our plugins done we can move to the next part.
Data Provider
Registering a custom data provider is the part where most people give up because there are some errors and unusual stuff that stop you from doing it the right way.
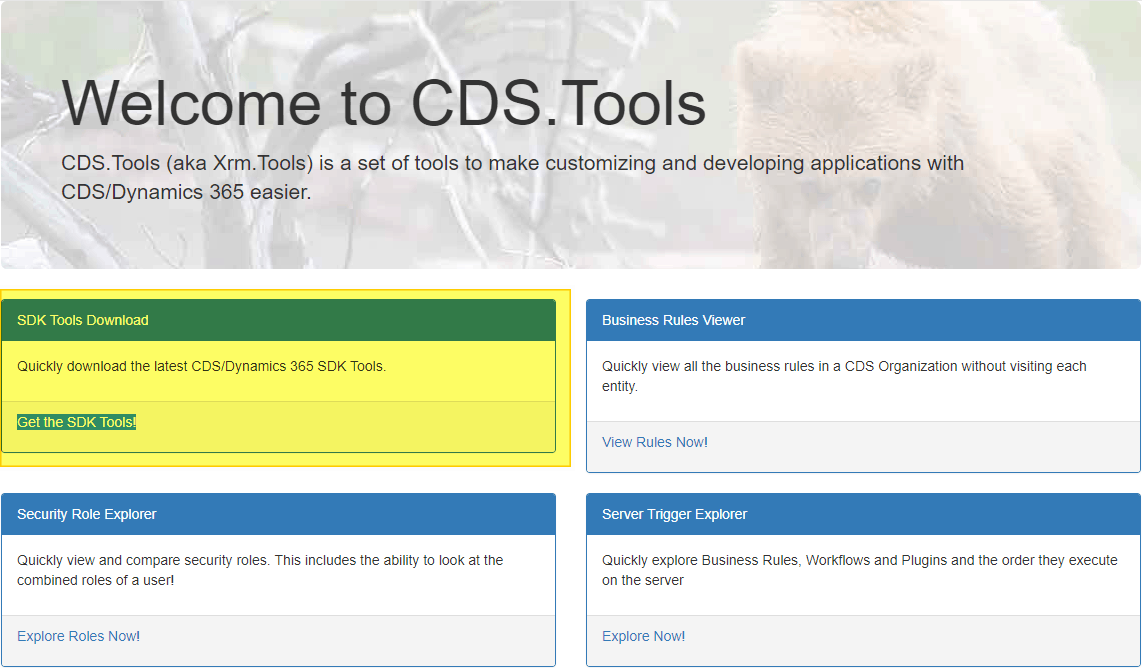
The data provider can be added only via the newest Plugin Registration Tool which can be downloaded on https://xrm.tools/ by clicking on the Get the SDK Tools! link.
After you downloaded the tool you need to register the newly created DLL with Retrieve and RetrieveMultiple plugins to your organization.
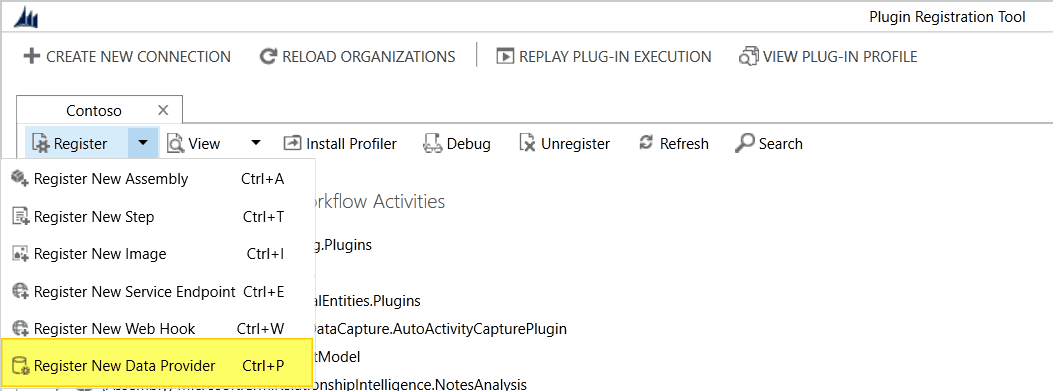
When you registered the assembly it's time to create a new data provider. Creating is done by clicking on the Register drop menu and selecting Register New Data Provider.
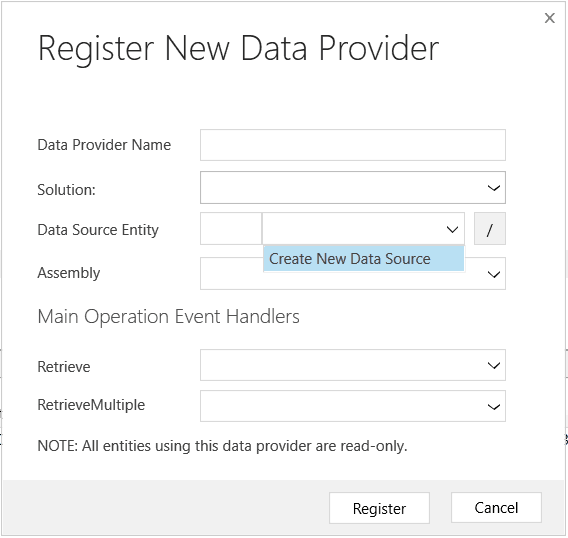
After clicking on the last option popup menu appears. On this screen, you only need to select the Create New Data Source option.
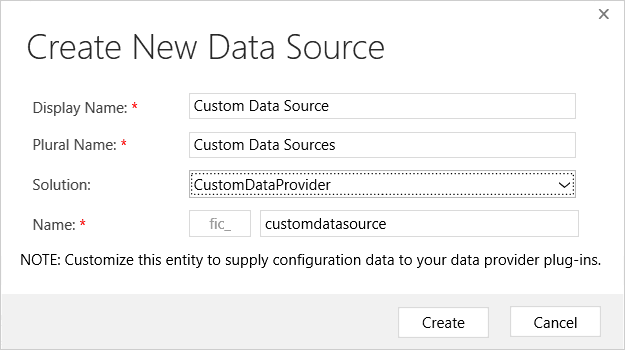
On the next screen, you need to set Display and Plural Name that can be some random names, a solution that will hold data source metadata and logical name for the data source. Finally, you press the Create button.
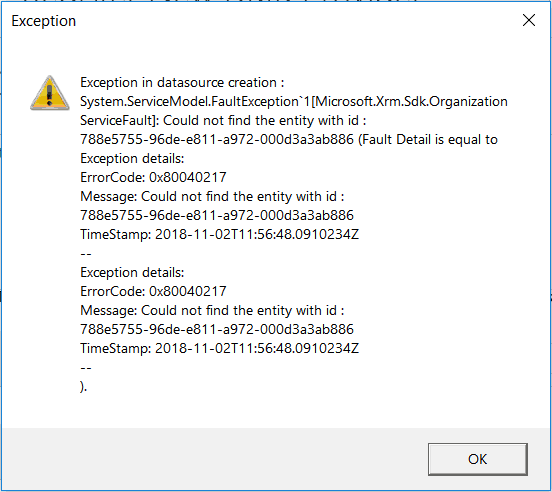
But after you pressed the Create button and unpleasant error appears on your screen, but don't worry you did everything right and the data source is created successfully. Press the Refresh button in the Plugin Registration tool and data source will be shown on the list.
Now it's time to again press the Register New Data Provider button and start creating the data provider. The most important things here are to select the right assembly and the right Retrieve/RetrieveMultiple methods form the assembly. When you filled the data needed it's time to hit that Update button. Plugin Registration Tool can crash in this step, but if it does crash just repeat the process until it finishes successfully.
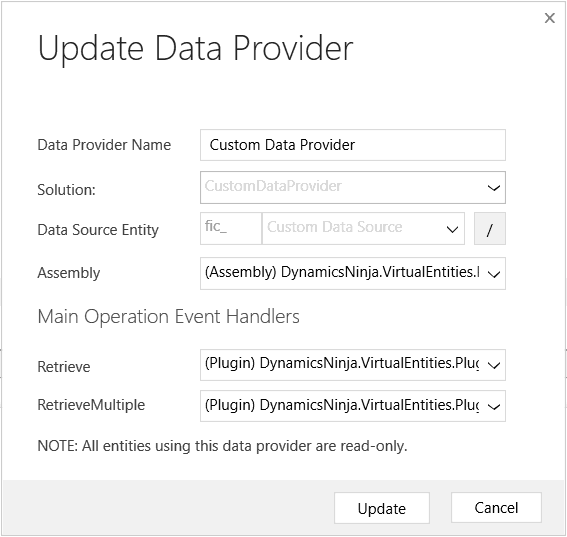
When you created the data provider it's time to leave Plugin Registration Tool and go to the next part.
Data Source
Every Virtual Entity needs a data source configuration that is used in entity configuration. Configurations are created in Settings -> Administration -> Virtual Entity Data Sources. Here you just need to hit New, select data source created in the previous step, input some name and press Save & Close button. Now we have our data source configuration.
Entity #2
It's time to get back to solution explorer and our entities.
The first step is to find the Data Source entity. open the fields list, open the configuration for ID field and there you need to copy the value of the Name field to the External Name field. If this step is not done everything else will not matter because Dynamics would not know how to find Data Source configuration while using your data provider.
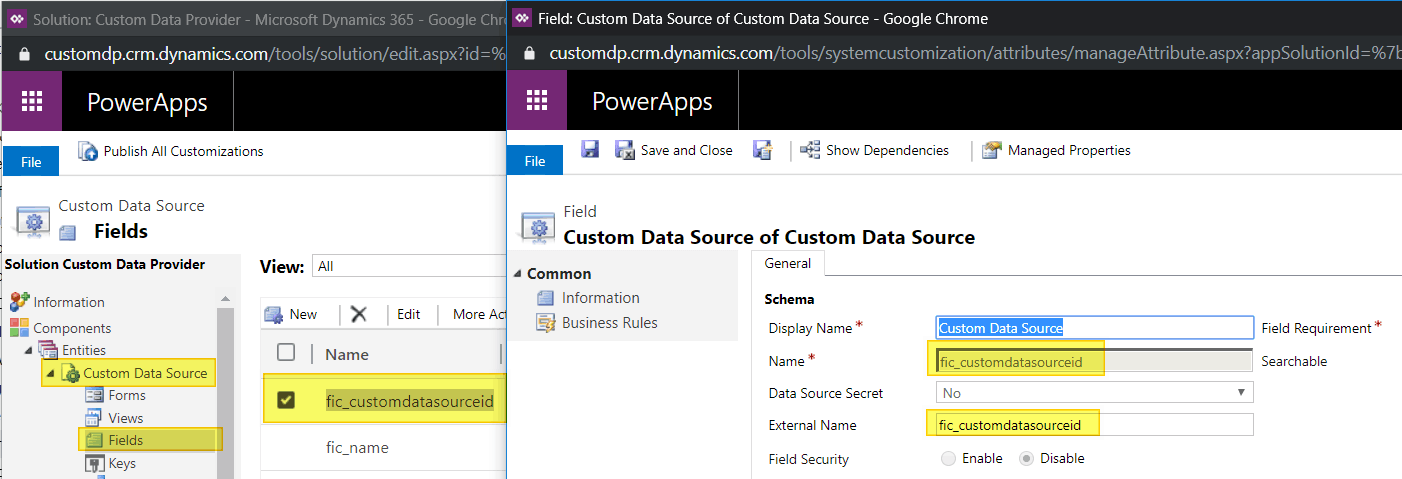
The final step in this example is to select the data source configuration in the virtual entity editor by adding value to the Data Source field.

After you did everything like it was shown here you should have your custom data provider Virtual Entity live & running.
Let's check the list of Sensor Measurements list to check if everything is working.
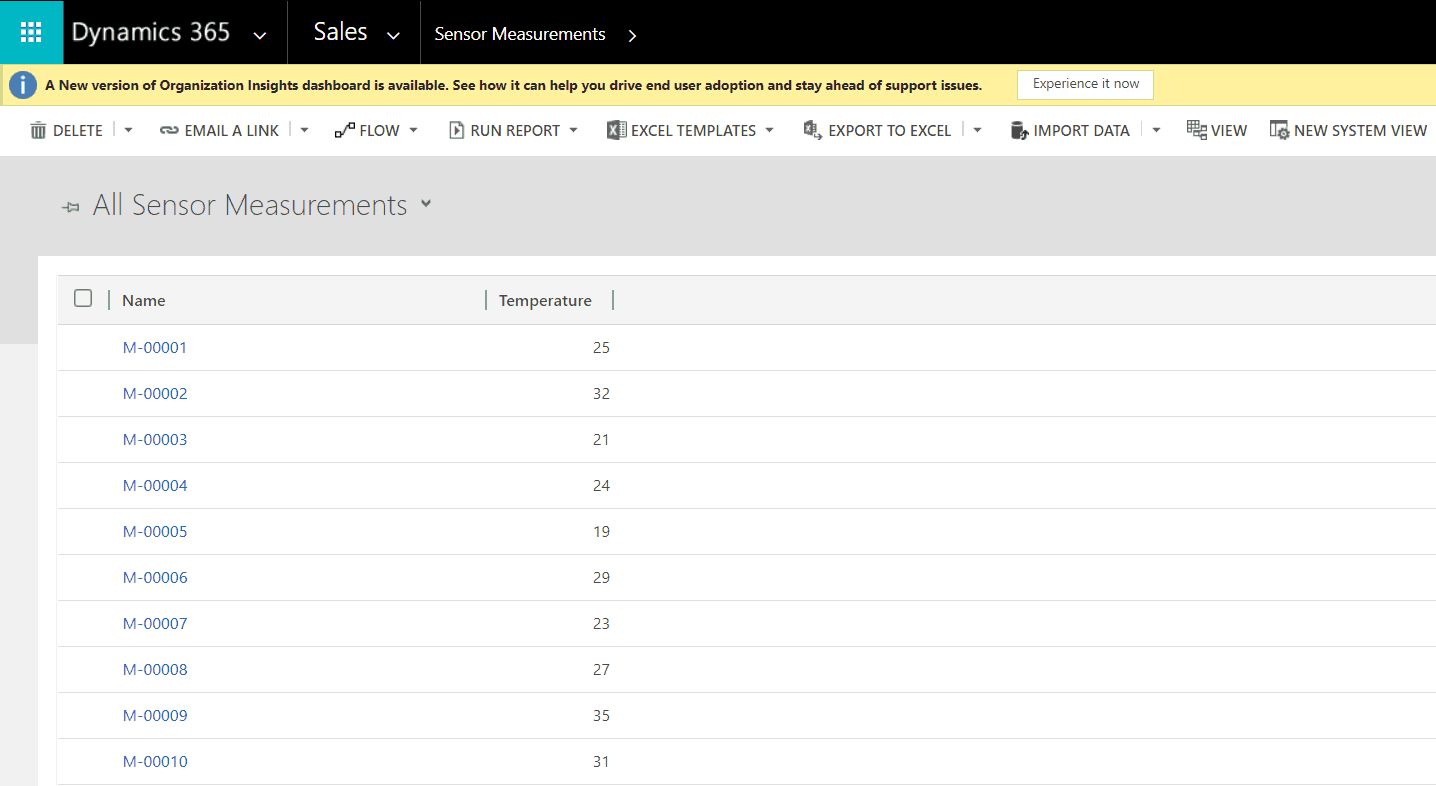
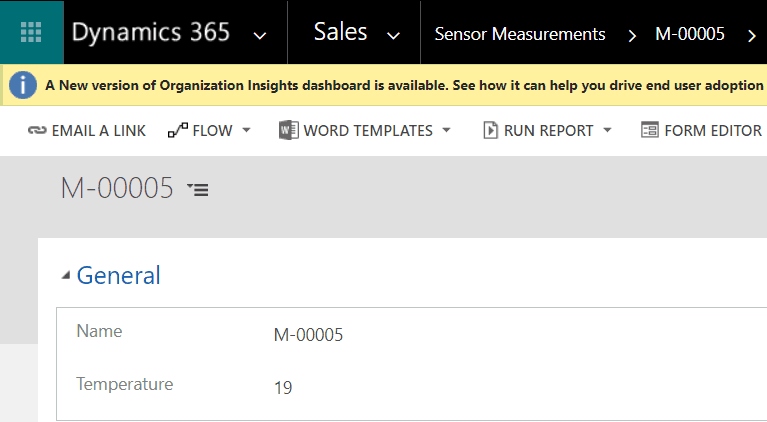
If you see the list like one above on your screen everything is working just fine. Let's try to click on the single record on the list to see if the form is opening as expected.
Conclusion
Setting up a custom data provider is kinda hard for someone that is doing it for the first time because all the errors that can show up on the way, but I think that is worth the time spent for sure in the end. Possibilities are endless if you try to implement some complex scenarios like showing virtual entities in related records subgrid on the entity form which is really a great way to use VE.
This was my final post in Virtual Entities mini-series, but I will try to post as much Virtual Entities tips and tricks as I face the problems while using them.
